background

Monday, December 29, 2014

Cabinet Jewelry

Good Morning everyone! Thank you to all of you have been following along our little kitchen project. I am so excited we are starting to get things back together and I can't wait for the granite and tile people to come in and finish up. But first, I need help with the decision on cabinet knobs and pulls...the kitchen jewelry. So I decided to come to the internet and ask for an opinion, dangerous right?
For a little background our cabinets are going to be slightly cream, shaker style with black counter top. I don't have any pictures on my computer yet because I've been using my phone for everything to avoid getting dust in my camera.  But here is an internet picture that might help for your visual people out there...

But the back splash is a neutral stone looking tile.
The hardware will be brushed nickel to match the lighting and faucet.  Now what I can't decide on is the pulls...
I've narrowed it down to two combinations cup pulls and knob (either glass or very simple brushed nickel)
glass knobs

plain knobs
I really thought I was sold on the glass knobs and the cup pulls but of course I got on pinterest and it ruined everything. Now I kind of like the bar pull with the cup pulls.

Chris is really more of a sleek and modern style then I am so he likes all bar pulls but he's not overly opinionated when it comes to this kind of thing...


If you go back to the previous photo it kind of looks like there are knobs on top, mixed with cup pulls and bar pulls on the lower cabinets.  Maybe I should just do all three?   You see, this is why its time for a vote. I need to make a decision and commit, help!

Next we'll vote on the actual pulls... 

Monday, September 29, 2014

7 years ago...

7 years ago today was just your average rainy Saturday for many. For me, it was a day I walked into a little white church and said the vows that would shape my life forever.

The day we married, we'd known each other a mere 5 months. I had no way of knowing yet that Chris and I stumbling into each other's lives was God's plan for us. Today, I'm sure it wasn't just blind luck to find a man I could truly share (not just spend) my life with. Since that day we've endured a few tears and laughed a million laughs. We've worked together to accomplish success, small victories and big ones. We've created a beautiful family and home. We've built a life together.  
On our anniversary I like to take a few min to look back at the pictures from our wedding to remind myself of all the small details (some of which I missed that day) and just how special it was to spend that amazing day with our family and friends. So in celebration of our anniversary this year, I wanted to share a few of my favorites. 
In the moment, on your wedding day you tend to over look the small stuff. I am so glad our photographer captured it all for me. The church was so perfect for my taste. It was like a fairy tale written in my sort of handwritting. It was old and beautiful with chippy paint, shiny antique silver, red velvet seat cushions and simple accents of white satin ribbon. 


The church seemed to make a perfect backdrop for every picture...


our friends and family made it a fabulous celebration.


My great group of friends from Tarleton, I spent most of my days there with these ladies. I lived with some and worked with others. I'm grateful the made they trip to support me on my wedding day and celebrate with us afterward.


At some point I decided what our reception needed was an impromptu karaoke session. When Chris in and I were in New York with some visiting friends, like a bunch of southern tourists, the group of us got up and sang I've Got Friends in Low Places. It seemed a fitting choice for the reception too and it made for one of my favorite memories from the that night.


Speaking of reception, it was held at a beautiful old mansion in Galveston. 


It's always fun to take a little stroll down memory lane and its nice to look back and remind yourself to celebrate each other. We're blessed to have those memories and the friends and family we made them with. Most of all I'm blessed to have found the perfect partner to spend my life with. So cheers to 7 years...


... and many, many more!


Tuesday, August 26, 2014

Football, Cheer, and School Oh My

I think you'd agree that Kindergarten is a big transition year for families and kids. There is so much to learn and so many people to meet. Its all about everybody finding their place and letting the little birds fly, finding balance and harmony.
Last year was definitely that but even toward the end I only knew a few people and being very pregnant through the surrogacy early in the school year gave me a bit of a hermit mentality. On top of that we were in a new area. I almost felt like I failed the kids a little and didn't get near as involved as I planned to being a stay home mom and all. One of the final days of school a mom and neighbor approached me. She said she'd noticed all the work we'd been doing on the front of the house and loved all our various holiday decorating. She informed me the PTA was looking for a co-chair for the teacher appreciation position on the PTA board. She insisted this was perfect for my creative skills, it was getting involved but the responsibilities were limited to one welcome back lunch for teachers at the beginning of the year and one week of teacher appreciation events later in the year.  So I took a leap of faith and climbed on board.  
Later this summer we decided to put the kids in a local football and cheerleading club. We thought it would be good for Eli to have some place to expend some of his endless energy and to learn about following a coach. We knew at 4 it was a bit much to expect him to be an all star but it was a good chance to let him get a feel for fundamentals and see if he the game.  See we're in Texas where football is big anyway and here in Katy, football is a way of life for those that play. We weren't sure about the commitment or about this being the right sport for him, putting your child in any contact sport is a little scary. Once little man's team was assigned we went to conditioning camps once a week to help him get acclimated to coaching, the game, the new faces, and of course the heat. I met our team mom and one of these events at which point she guilt tripped informed me we didn't have a cheer coach for the team and if nobody was willing to take the position Emma would be refunded the money or put on another team. I knew that I wanted our family to stay together and not be going all different directions, so reluctantly I agreed to do it. 

Yes, me, the cheer coach. Those facebook friends of mine already got their laughs in when I broke the news so I'll give you a few seconds to catch your breath and wipe the tears from your eyes... 

Luckily, I had another mom volunteer to be the cheer Team Mom and her daughter a 12 year old veteran cheerleader of 3 or 4 years volunteer to be my assistant coach. Who am I to turn down any form of help? 
Well it actually is working out really well and my team mom and assistant coach have proved to be very valuable assets. Between the 3 of us we've taught the 7 girl squad (ages 4-6) 8 cheers already. With football and cheer practicing the last few weeks, M/W and voluntary Fridays,they have gotten much further than I anticipated and its actually surprised me and been fun. Then, last Thursday was meet the teacher, last Friday I did my part to put on the teacher welcome back lunch then that evening was opening ceremonies for football/cheer. 
The theme this year is "With great knowledge comes great power." Superheros so we went with comic strip decor


the girls with my assistant Coach waiting the the bleachers


That's Emma smack in the middle, down on the field during the opening ceremony

Eli is the little guy in the front with the blue shoes
Then things started piling on, Saturday was our first scrimmage which turned into an event that took over most of the day and a major learning experience for both my squad and the football team.  We spent Sunday recouping and regrouping then started school Monday.


The football Coach forfeit practice (like my sporty lingo) for the first day of school so everyone could catch their breath. Then in a phone conversation he let me know practices would now stretch past the original end time of 7:15 to 8:00.  **Groan** But like I said, Katy is serious about its football. Luckily, when I got that call I was in the midst of making some freezer meals for quick and easy dinners this week. Looks like that will be a Sunday tradition through October (the end of football season for our little flag guys.) 

I'm a bit intimidated by the year coming up and trying to figure out when I'll have time to squeeze in jogging, dinner, and sleep. But I no longer have any doubt about a lack of being involved and it was wonderful to go into school this year and see so many now familiar faces. Old friends, team mates, neighbors, PTA members, I even knew some of the teachers.  We've taken a place in the community, made new friends, our kids are part of a great school and they're happy...it's home. 


Thursday, August 7, 2014

Tortellini "Salad"

Guys, its been a long time since I've posted a recipe but today I stumbled on this little gem  and I had to post about it. Had I known it was going to be so great I would have taken pictures along the way but you get what you get.
So this is not only good, its fast and way easy and makes a ton.  Tonight was our grocery night so I knew I'd be starting dinner late and this seemed to fit the bill. So here it is with my modifications...


Ingredients

  • 1 large package of Buitoni fresh 3 cheese tortellini 
  • 2 cups chopped cooked chicken - I was in a hurry so I grabbed a rotisserie chicken 
  • 1/4 cup green olives (left them out because Chris doesn't like them but I think they would be good in it)
  • 1/4 cup sliced black olives (I accidentally bought minced and to me they made the dish really pretty, would do it that way again)
  • 1/4 cup diced red bell pepper 
  • 2 tablespoons chopped sweet onion
  • 1/4 cup sliced green onions + extra for garnish
  • 2 tablespoons of mayo
  • 1 tablespoon red wine vinegar
  • 1/2 teaspoon minced garlic
  • 1 teaspoon herbes de Provence (never heard of it but I found it in the specialty spices at HEB, you can sub Italian Seasoning)
  • 1/4 cup canola oil - I used 1/3 cup olive oil instead.  I think this was a good amount, some people in the comments said they needed just a little extra dressing. I bumped up all the spices a little too
  • Salt and pepper to taste -  did not salt because the chicken and olives have a lot of sodium
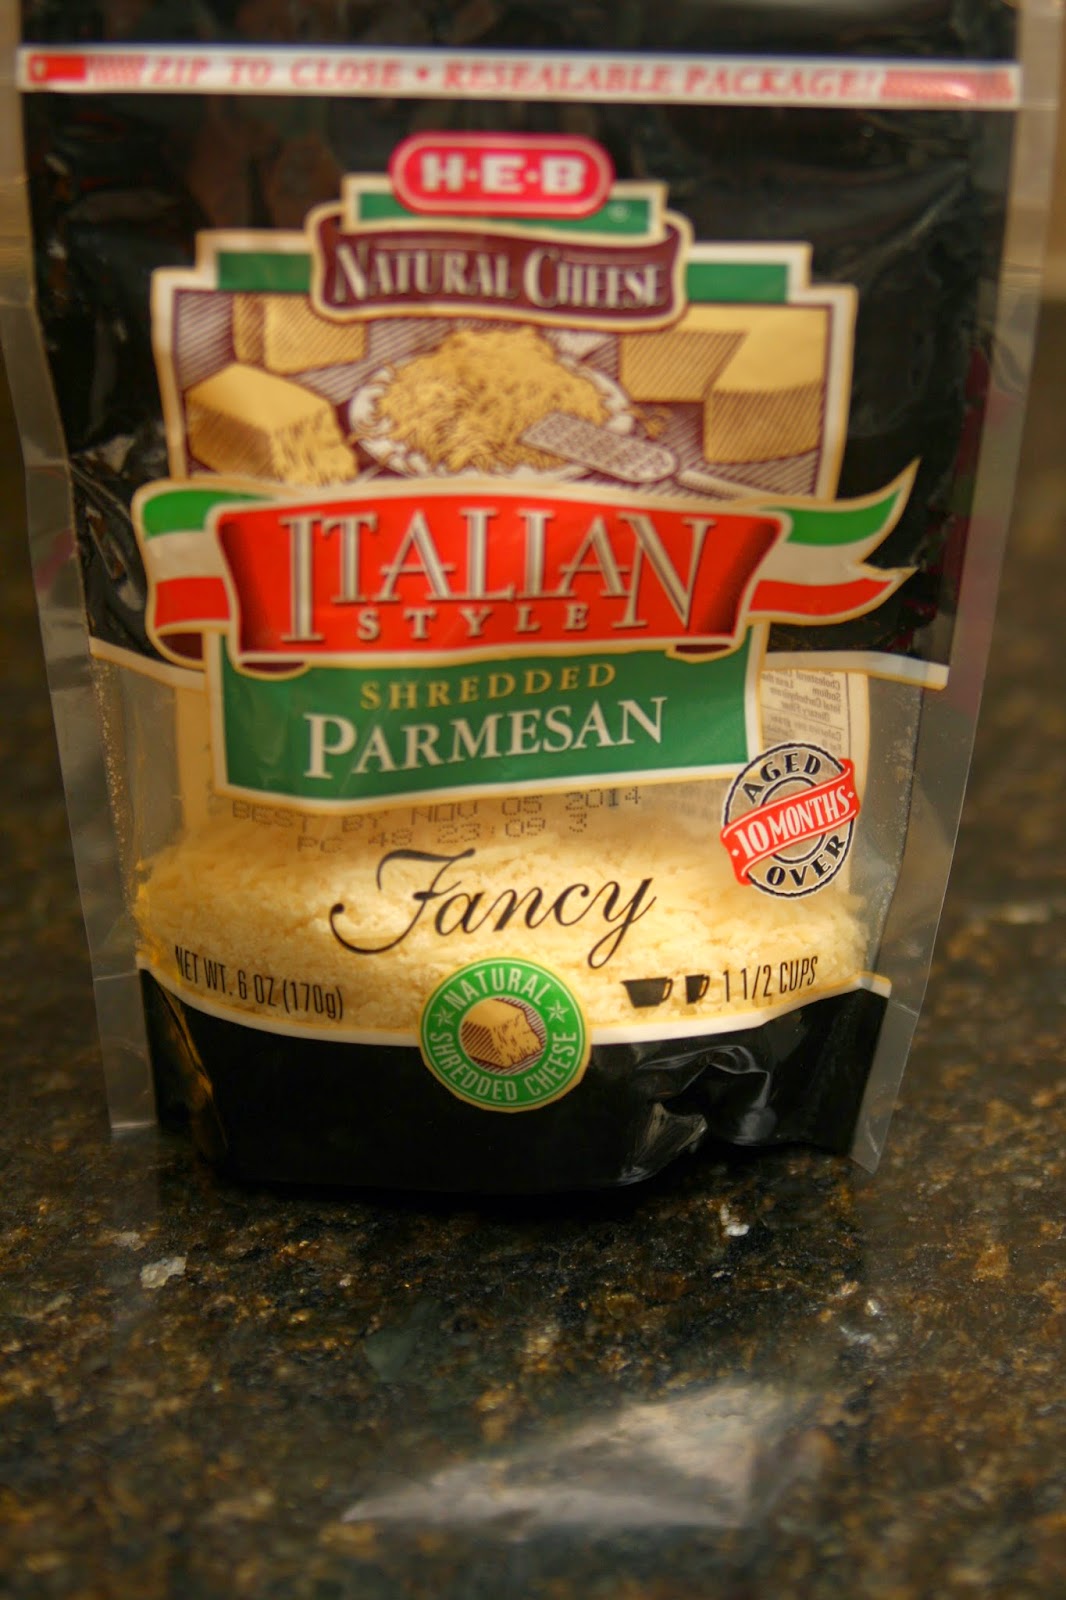
  • Garnish: chives and shredded Parmesan cheese 

Directions:
1. Cook tortellini according to package directions. While cooking shred and remove skin from chicken. 
2.Drain pasts and plunge into ice water to stop the cooking process; drain and place in large bowl. Stir in chicken and next 5 ingredients.
  1. 3. Whisk together mayonnaise, red wine vinegar, and herbes de Provence, garlic, and oil until smooth. Pour over chicken tortellini mixture and toss to mix. I served immediately while it was just a bit warm and it was great (but hey, that's how I like potato salad too.) However, you can put it in the fridge to cool for about 25 min if you'd rather it be cold. 
  2. I'm not sure I would put the dressing on until I was ready to serve it. I topped with green onions and a sprinkle of parmesan 
  3. I hope you enjoy it! 


Thursday, July 31, 2014

Craft Room Renovation

Earlier this summer the kids went to "summer camp" at Mimi's house. That bought me just over a week of free time and true to myself I picked a project to tackle. This time it was the craft room, well and Emma's room but that's a different post. Feel free to skip to the bottom and see the transformation
From the moment we bought the house I knew this tiny room, or extra large closet was destine to be my awesome craft room. I've been using it since we moved in and painted the original dingy walls with a couple (yes a couple) of free sample paints I had laying around.  It was fun but not really as functional as I originally envisioned.
So here it is with the door removed, a hideous but working fan we found in the attic (there is no air vent since it is technically a closet, the fan was a must,) and my sample paints. This is pretty much how I'd been using it.
So keep in mind (standing looking into the room) it is about 7.5 feet deep and 4.5 feet wide, angles of pictures are a bit awkward and the pics are pretty bad


This is how it looked, looking in from the hall. There was a bunch of clutter on that back wall but I had already started clearing when I thought about taking pictures. 

This is the desk that was there. It was counter height and about 12 inches deep. Impossible to use for sewing so I da to drag my sewing machine upstairs or to the kitchen table when I wanted to use it. Kind of defeats the purpose of having a craft room.

There was a light already mounted over the desk, behind the panel with the "R" hanging on it. Someone was obviously using this as some sort of craft room or office before too. Obviously at this point it was more of a glorified storage closet. 

So I started with the desk carefully taking it apart. I knew I needed to save as much as possible to reuse. like always I try to keep my budget small.

Once that was done I had to patch the wall and paint, which I found at Lowe's as a $5 mis-tint. Score! I always, always check Lowe's mis-tints. Every time I go in and sometimes I just go to check. It there is ever a color I think I may use at some point I grab it. Its so worth it. The white color was also a mis-tint enamel.  Next I painted and installed pegboard (tip: pegboard cannot be mounted directly to the wall if you plan to use hooks on it, don't ask me how I found that out) and the new desk on the back wall. The desk was two pieces of wood from Lowe's that I stained and and sealed (I think they were $12 ea). The brace underneath was "reclaimed" from the previous desk and the white panel on top used to be the pink panel on top of the old desk. 

The wonderful pegboard idea came from Traci over at Beneath My Heart, go check her beautiful make over out!  


I used this pegboard organizer kit to help get things moving, about $9
I love this thing, its so handy. 

I also mounted this thread holder on the wall so I can see what I have easily.

I used scrap wood and L brackets to make these little paint shelves and utilize that narrow wall next to the doorway. (Those are Eli's sweet little feet there)

To the other side of the door I scored these two baskets for only $6 each at Garden Ridge. Perfect as a paper drop for mail and school work) 

I bought a couple of jars to hang underneath the shelf they hold all kinds of things, buttons, beads, wall anchors... 

I used more sale baskets to hide some of my other things...


A long, long time ago, my granddad made each of the grand kids a giant bulletin board. It was huge and perfect for this wall. 

So here it is. Pretty basic but the desk is not 24" deep and the right height for sewing. And I really love the room. 

For those of you that skipped to the end (as always here are the before and after shots) 

Left wall 

Back wall

Right wall 

Before

After

So what do you think? It's been about a month since I've done it and I really love it.