

What you need:
The tee shirt or onsie
1 piece of brown felt (that should do about 4 Turkeys this size, you can use a different color or fabric)
a piece of paper or cardboard for your pattern
pen or pencil
scissors
a lighter to burn the edges of the ribbon, I think you can use clear nail polish if you'd rather
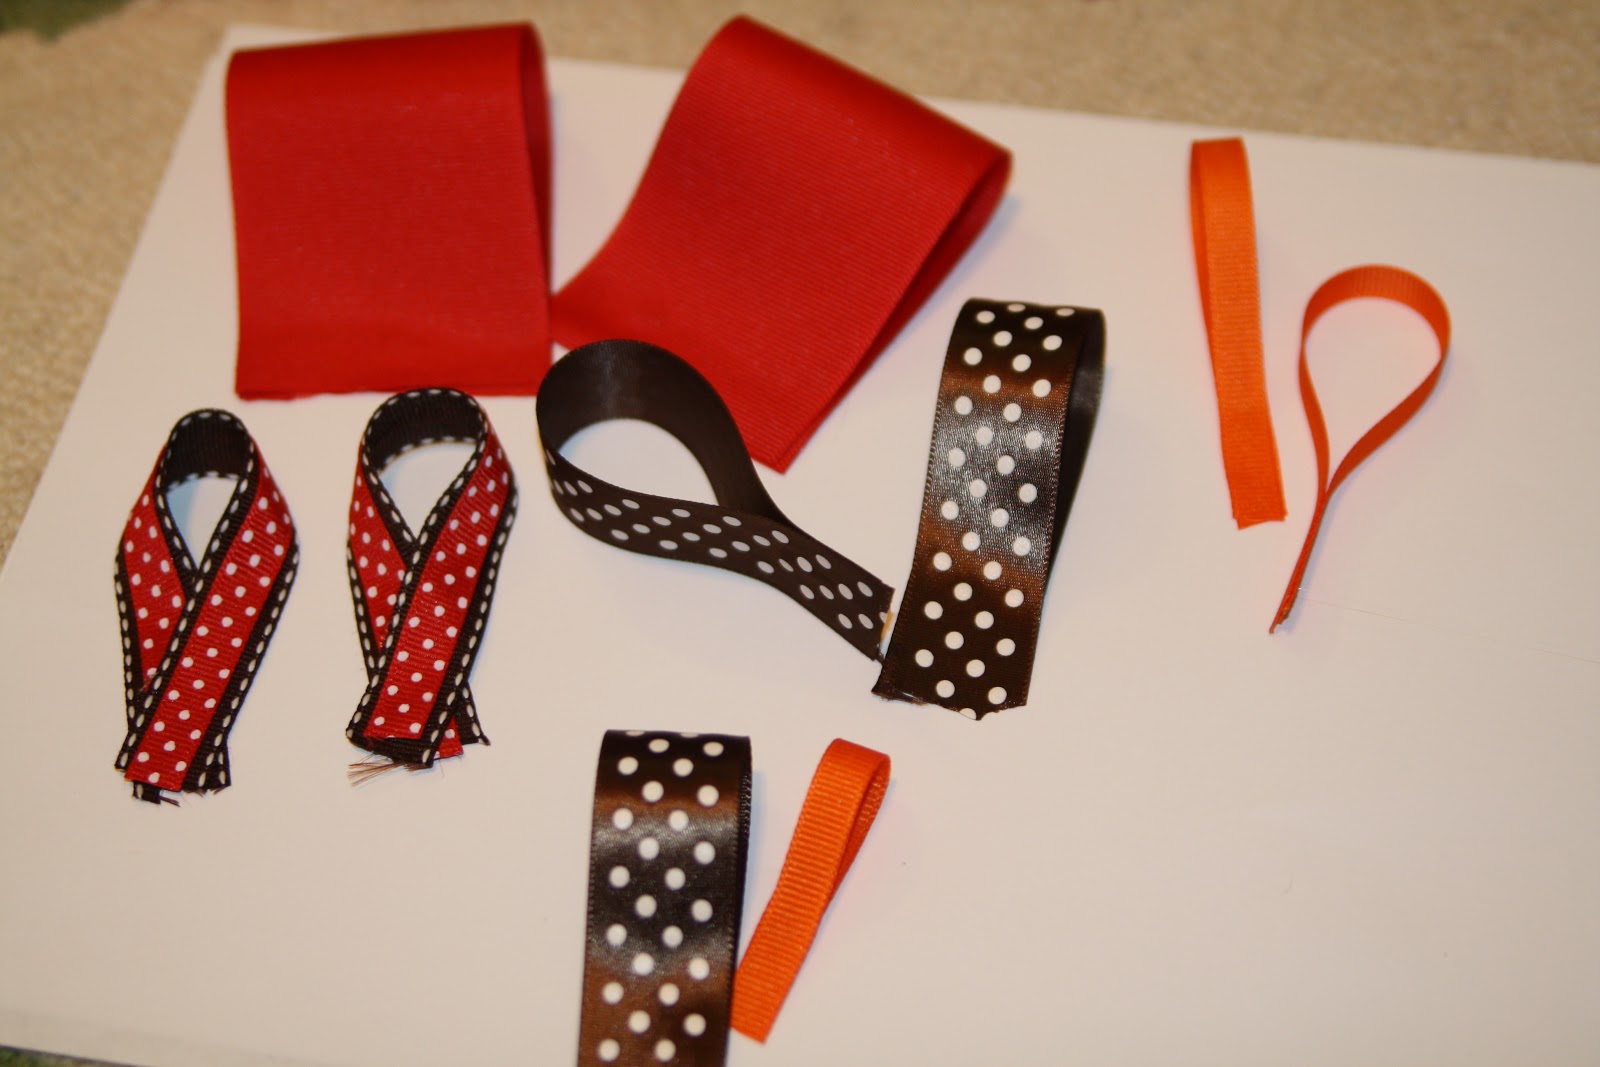
5 colors of ribbon I used:

- wide grosgrain in red
- small grosgrain in orange
- a med grosgrain in brown with white dashes up the side
- a med brown (satin type) with white dots
- a small red (satin type) with white dots
If you want your turkey to have eyes, look for some tiny buttons
A hot glue gun
If you want the matching hair bow you will need and alligator clip or I use a snap clip

First draw your pattern for the body on the paper/cardboard. It is really just one large and one small circle. You can play with the shape and the overlap until you get the shape you want. Cut out the pattern. If you are using iron adhesive go ahead and trace and cut your pattern on to the adhesive too (follow the instructions on the package for tracing, do not attach adhesive yet just set it aside when cut) You can trim it up and straighten it out a bit as you go. You'll notice my felt is quite a bit different then my pattern.

For the beak I just cut the orange ribbon at an angle and burned the edges so it didn't fray. Then, I attached it with the adhesive (use the instructions on the package)
Cut the ribbons all the ribbons first. I used aprx 5"... thick red, small orange, med brown polka dot, med brown with dashes, and small red polka dot (2 each)
- You can make yours bigger or smaller based on the size of turkey body and shirt.
- If you are doing a boy shirt and want the feathers flat, use half that length.
- Finally on Eli's shirt, the turkey had a hat, you can do yours that way (see pic and make sure to burn the edges so it doesn't fray) or one more set of feathers for the top. I used about 4" of the brown polka dot and 3 to 31/2 of the orange.

Girls: Glue your red polka dot to the brown with dashes. Use a thin line of glue the length of the ribbon.

Loop these two like an awareness ribbon.

Now loop each of the rest of the ribbons over lining up the ends. Use a thin line about 1/2" to 1" to hold the ribbon in place.
Boys: you will skip all the looping but you will still need to do the layering
Layer the pair of orange ribbons over the red and glue to the center. Do the same on the shorter brown polka dot and the shorter orange

Set the body on the shirt (I did a hand towel this time) and set out the arrangement of the feathers (see pic) Tip, I found it easiest to start with the wide red.
Once you have them how you like them lift up the body and apply glue, then replace the body. (Almost done!)

Now if you cut out the adhesive to match your body pattern earlier, this is where you use it. Flip the turkey over (wrong side up) and put the adhesive on the back. Peel off the other sticky side and put the turkey in place. Iron it on! (I try not to get the iron on the ribbon too much, I don't know if it will do anything) Once the adhesive stick a little I flipped the shirt inside out and really ironed it on. (note: this did not work so well on the hand towel. I just reinforced with glue)

Oh, if you added eyes, glue them or sew them on. If you were sewing, I used a zig zag stitch around the Turkey's body on my shirts.
Now, you can take it and have it monogrammed if you want!

Hair Bow:
I am using different colors in the sample because I already made a Thanksgiving bow.
If you want a layered look you will need about 18" of each color. (Burn edges) I would cut it and glue it down the center like we did the red polka dots above. Try to keep the glue thin so its still easy to work with.
Make your 1st fold and dot with glue to hold in place. I folded over about 2" you can try going through the steps once or twice w/o glue so you can kind of figure it out.

Fold over again and dot with glue. Try to keep your glue dots all on top of each other in the center.


Fold and glue over the front.


Wrap it tightly around the center and glue the end in place. Slide the clip in or glue it to the back.


Post your pics if you tackle this! Good luck