background

Showing posts with label recipes. Show all posts

Thursday, August 7, 2014

Tortellini "Salad"

Guys, its been a long time since I've posted a recipe but today I stumbled on this little gem  and I had to post about it. Had I known it was going to be so great I would have taken pictures along the way but you get what you get.
So this is not only good, its fast and way easy and makes a ton.  Tonight was our grocery night so I knew I'd be starting dinner late and this seemed to fit the bill. So here it is with my modifications...


Ingredients

  • 1 large package of Buitoni fresh 3 cheese tortellini 
  • 2 cups chopped cooked chicken - I was in a hurry so I grabbed a rotisserie chicken 
  • 1/4 cup green olives (left them out because Chris doesn't like them but I think they would be good in it)
  • 1/4 cup sliced black olives (I accidentally bought minced and to me they made the dish really pretty, would do it that way again)
  • 1/4 cup diced red bell pepper 
  • 2 tablespoons chopped sweet onion
  • 1/4 cup sliced green onions + extra for garnish
  • 2 tablespoons of mayo
  • 1 tablespoon red wine vinegar
  • 1/2 teaspoon minced garlic
  • 1 teaspoon herbes de Provence (never heard of it but I found it in the specialty spices at HEB, you can sub Italian Seasoning)
  • 1/4 cup canola oil - I used 1/3 cup olive oil instead.  I think this was a good amount, some people in the comments said they needed just a little extra dressing. I bumped up all the spices a little too
  • Salt and pepper to taste -  did not salt because the chicken and olives have a lot of sodium
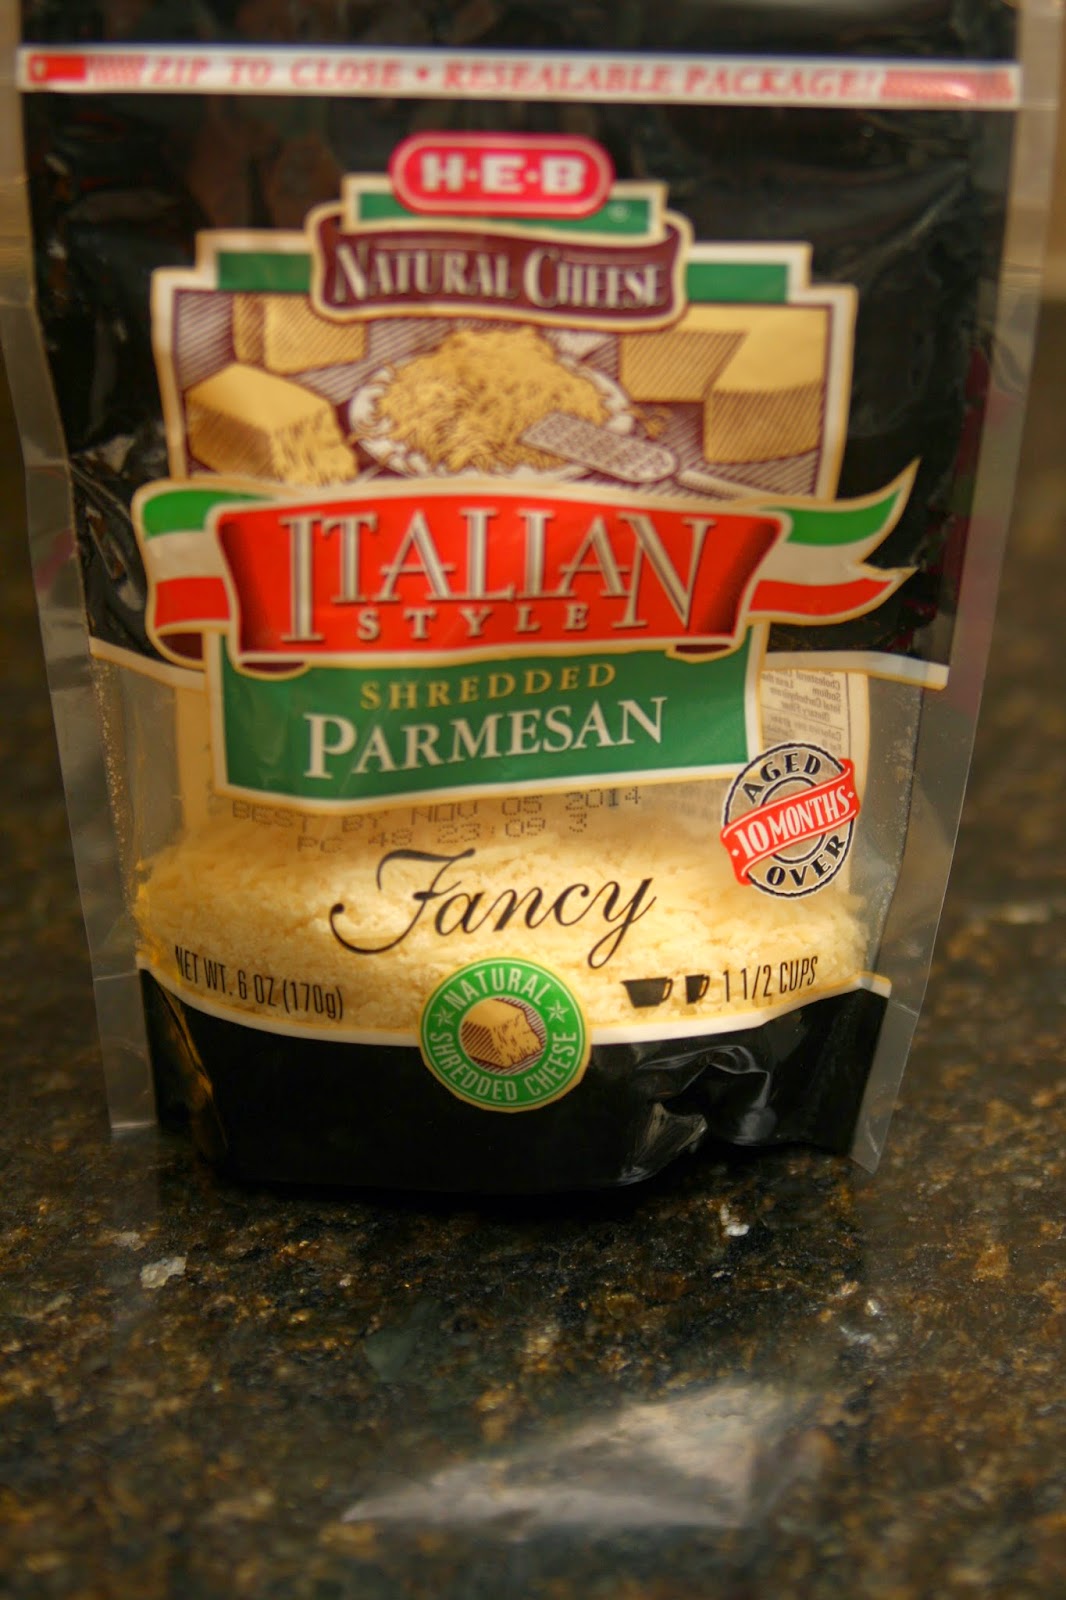
  • Garnish: chives and shredded Parmesan cheese 
Directions:
1. Cook tortellini according to package directions. While cooking shred and remove skin from chicken. 
2.Drain pasts and plunge into ice water to stop the cooking process; drain and place in large bowl. Stir in chicken and next 5 ingredients.
  1. 3. Whisk together mayonnaise, red wine vinegar, and herbes de Provence, garlic, and oil until smooth. Pour over chicken tortellini mixture and toss to mix. I served immediately while it was just a bit warm and it was great (but hey, that's how I like potato salad too.) However, you can put it in the fridge to cool for about 25 min if you'd rather it be cold. 
  2. I'm not sure I would put the dressing on until I was ready to serve it. I topped with green onions and a sprinkle of parmesan 
  3. I hope you enjoy it! 


Tuesday, April 1, 2014

Grocery Shopping

I know for many of you grocery shopping and menu planning are the bane of your existence. While I never really mind the shopping, I always hate the planning. Honestly it took a ridiculously long time each trip.
We used to shop on Sunday's once a week and I would spend and hour or so scouring the internet for recipes and making a coordinating shopping list. Recently, it all changed.
We decided to get on a family budget and try to just be better organized. I made up a menu spreadsheet for the whole month.I just printed it and stuck it to the fridge. I also printed all the recipes I would need for the month and had those in order (coordinated with the menu) and kept them on top of the microwave. Last month was our first month to try and it was amazing.
Now each Sunday I can quickly and easily look at the menu, check what we already have, and simply add our menu items to the list (we usually keep a constant list going, milk, eggs, laundry soap...) There was never any confusion over dinner, our grocery bill was smaller, it saved a lot of time, and we even wasted less food.
This week we came to the last week I had planned and I was sure I was going to do it again. I could have just started the menu over but I enjoy mixing it up a little. I do actually like to cook and try different things
Obviously, when you look at my menu there are a few family friendly staples that get repeated. Those are just easy go to things for my family that everybody likes, so why not?
last few helpful hints...
-This is just what I use personally please don't take it for any more than that. Its what works for my family and may not work for yours
-To read the menu: The date (starting Mondays) and meal are down the left and you just move across (to the right)  it that week
-Some recipes I have not tried and they may not be that great
- Anything with ** in front of it has a coordinating recipe
- LO is "leftover"
-"Frozen" in the veggie section is just there so I can decide that week by seeing whats available at the store or if I need to sub frozen. I often change out my sides too just depending on what we have
- Drumsticks are on the menu several times, we bake a basic dumstick recipe and mix it up with different sauces...sweet chili, bbq, wing sauce, the kids just eat them plain with the skin removed and sometimes dip in ranch. A lot of versatility... the recipe is the last one on the recipe list
-We cook large portions so that leftovers can be had for either lunch the next day or another dinner that week, sometimes even frozen for a later date
- I always keep salad, onions, and fresh fruit on hand so they can be added to any meal
-The "extras" row is to help me remember anything else I may need for the meal
-In my menu I have a kids section under the lunch- I like to compare with the school menu and decide when the will bring and buy. It helps me plan what and how much I need for making lunches that week and I know in advance which days I need to build that into the morning routine. Same goes for the other part of lunch, when to pack leftovers and when to make sandwiches (this is where waste was really reduced)

Menu -you will have to print it and take the 1st and 2nd page side by side. Don't print the third page you don't need it. Goes to show I am not very technology savvy.
Recipes

I guess that covers most of it. Feel free to leave any questions or comments


Thursday, May 16, 2013

Healthy Spinach and Artichoke Dip

I am sure that those of you who care to read about my recipes have already figured out your own version of Spinach Dip.  Today, I decided to share this super simple recipe with you. Maybe because in my pregnancy brain it hit just the right spot or maybe a little testing the water for getting back on the blog bandwagon.
Either way here it goes and please note, my food photography is seriously lacking.

What you need:
1 large tub of plain low fat Greek yogurt (mine came in 24oz)
1 package of frozen spinach (thawed and dried)
1 can artichoke hearts (chopped)
1 package of Knorr recipe mix
1 handful of cheese (I used mozzarella because it was convenient) - optional
 and whatever you choose for your dipping pleasure. Today I used chips, but the Hawaiian bread bowls are always a hit, and veggies are a healthy alternative.

First you dump your yogurt into a bowl... I have to not here that because of the texture of greek yogurt, this version of spinach dip isn't the creamiest I have ever tasted, but to me, its guilt free so I'm willing to make the sacrifice.


Add  3/4 spinach and mix well. Make sure the spinach has as little water left as possible. Especially with Greek yogurt's tendency to get watery. If you really like spinach you can use the whole thing, I did but I think maybe 3/4 would have been better.

Add a handful of chopped artichoke hearts.

This is where my recipe takes a turn for "to taste." I added the whole package of Knorr mix but it seemed a bit too much. Maybe it was the flavor of the yogurt or maybe adding the artichokes. Maybe start with half and taste test. Add as much as you like.


You can be done here and eat as is. I had a few bites and decided to put a couple spoonfuls in a separate bowl and mix in a handful of cheese. Then I popped it in the microwave for 30 secs and it was good warm too.


If you decide to warm the whole thing mix in a little cheese and pour it into an oven safe dish. Top with a little more cheese and cook (at about 350-400) until cheese is melted and dip is bubbly.

Hope you enjoy it!

Monday, January 16, 2012

Menu Monday 1/16

I hope everybody had a wonderful weekend. We did all our shopping yesterday, only because I planned poorly last week and was not really sure what I would be cooking up for dinner last night. Plus my mom came in and she's on her first ever, first cycle of the 17 day diet. So I needed some fabulous recipe to wow her with.
I don't think I started this weekly menu thing with this disclaimer but it just occurred to me "what if I have to repeat a recipe?" I decided it would be ok because it is only a menu and intended to help you out if you aren't feeling like making your own or if you just want ot try my method.
That being said yesterday morning I re-created the egg muffin brunch  (toward the bottom) from a couple weeks ago. I wasn't too fond of the broccoli in it, even though I really like broccoli. Besides, the hubby has been dropping hints he's had about all the broccoli he can stand for a while. It came out FANTASTIC, even Eli loved it. So much so, he set his fork aside and was shoveling into his mouth by the handful. It was pretty hilarious. So if you didn't try that recipe you have to try this one.
Too Much Broccoli Egg Muffins
Ingredients
1 pound Breakfast Sausage, whichever you like
1 onion finely chopped
7 large eggs
1/4 cup milk 
1/2 tbsp vegetable oil
1/2 tsp baking powder
salt & pepper to taste, if you want, I did not
Shredded cheese (optional) I used low fat mozzarella
Foil cupcake liners, I used jumbo with a regular size pan because they have boiled over both times I've made them.
Directions
1. Preheat oven to 375 F.
2. Brown the breakfast sausage and onion together until sausage is no longer pink. Drain when cooked.
3. Whisk together eggs, milk, oil and baking powder.  Season with salt and pepper if you choose. I did this as I am browning the sausage.
4.Add cupcake liners to the cupcake pan (please do not skip the liners. I did so and used pam then ended up trashing my pan.) Spoon out the sausage and broccoli mixture evenly into each cupcake liner. Sprinkle with just a pinch of cheese if you're using
5. Ladle the egg mixture over sausage mixture. 
8.  Bake for 15-20 minutes until egg is cooked. It takes mine about 18min.
Then give it a whirl. Seriously, I think I am going to try this with other stuff one night a week. Its easy healthy and well received by the fam. 


For dinner, my recipe to wow mom with, I picked Zucchini Lasagna
It was an excellent choice and made so much food I was able to freeze half of it. Even the kids ate it. Look around at Katie's blog, she has a lot of healthy alternatives for some classic favorites. 


Ingredients

For the Noodles:
  • 6 large zucchini, cut lengthwise into 1/8 inch strips, should resemble thick lasagna type “noodles”
For the Meat Sauce:
  • 1.25 lb lean ground turkey meat (you could also leave this out and make to make a vegetarian version!)
  • 1 large onion, diced
  • 2 cups fresh or frozen broccoli (or 2 cups of another veggie of choice) - I pickles carrots. This is still a no broccoli week at our house.
  • 2 cups fresh or frozen cauliflower (or 2 cups of another veggie of choice)
  • 2 cups fresh or frozen chopped spinach (or 2 cups of another veggie of choice)
  • 1 (25 ounce) jar of spaghetti sauce (I used one with 70 calories per 1/2 cup serving)
  • 1 tbs garlic powder (or 1 clove garlic, minced)
  • Pinch of salt and pepper, or to taste
  • *Optional seasoning: 2 tbs of Italian Seasoning -I didn't use this
For the Cheese Layer:
  • 1 (16 ounce) container light cottage cheese (or light ricotta cheese) - Found fat free, used cottage cheese but next time I want to look for ricotta. The fat free only came large curd and the hubby is not a big fan though, he did not complain.
  • 1/2 cup grated parmesan cheese -Skipped
  • 3/4 cup shredded mozzarella cheese - I used just enough to sprinkle on top
*Note: If you don’t want to use zucchini for the ‘noodles’, you could also use a large eggplant, cut lengthwise into 1/8 inch strips, or 1 box no-boil lasagna noodles!

Method

  1. For the noodle layer: Preheat oven to 425 degrees. Spray a cookie sheet with non-stick cooking spray, arrange zucchini slices and season with salt and pepper. Bake zucchini slices for 5 minutes on each side, then remove from oven. Set zucchini slices aside and lower oven temperature to 375 degrees.
  2. For the meat sauce layer: In a large non-stick skillet, cook meat until it’s browned. To the skillet, add the veggies, seasonings, and the entire jar of spaghetti sauce. Simmer for about 10 minutes, (or until veggies are de-thawed/begin to soften), stirring occasionally.-I sauteed about half the onion with the meat. I also chopped the cauliflower and carrots in the food processor. I had thawed them before, so I just added it to the meat then was ready to start layering. 
  3. For the cheesy layer: Mix the cottage cheese and parmesan cheese together, ( this can be done right in the cottage cheese container!)
  4. Put it all together: Spray a 9×13 baking dish with non-stick cooking spray. Begin by spreading 1/3 of the meat sauce in the bottom of the pan. Follow meat sauce with a layer of zucchini slices, followed by a layer of cottage cheese. Repeat the layers until casserole dish is full. 
  5. Finish it off: Sprinkle the mozzarella evenly over the top. Cover with foil and bake at 375 degrees for 1 hour -I suggest setting your casserole dish on a cookie sheet while cooking. Mine boiled over and was only 3 layers, this prevents it from getting in your oven. Mine is cooking off the burn stink right now as I blog. 
  6. Remove foil and bake or broil another 5-10 minutes until cheese is browned. Remove from oven and let rest for about 10 minutes before slicing, and serve warm!

Monday:
This one is a bit on the splurge side this week. But I landed smack in the middle of my goal weight range at 126lbs (woot! woot!) So decided I could mix it up a bit this week. This was found on food.com, I believe I read it was a Martha Stewart recipe
Update: I started writing this entry yesterday, Sunday, because I wanted to get it out to you. Life Happens! We had this tonight and it was wonderful! The hubby even admitted the cauliflower mashed potatoes weren't that bad.
Honey Butter Pork Tenderloin

Ingredients

    • 4 tablespoons butter- light
    • 2 tablespoons honey
    • 1 1/2 lbs pork tenderloins, trimmed of silver skin
    • salt
    • pepper
    • 1/4 cup waterI also used some GrillMates Kickin' Chicken possibly something Chipolte would be good too 

Directions

  1. Preheat oven to 375.
  2. In a dutch oven or ovenproof skillet, heat the butter and honey over medium heat, stirring to melt butter.
  3. Season the pork with 1/2 tsp salt and 1/2 tsp pepper and place in pan.
  4. Cook until underside is lightly browned, about 5 minutes.
  5. Turn pork, and cook until other side is browned, about 5 min more.
  6. (Lower the heat if the honey begins to burn.) Put the pan in the oven, and roast until the pork is just cooked through, 7 to 10 minutes.
  7. Transfer the pork to a plate and cover with foil to rest.
  8. Add the water to the pan, and stir over medium heat to scrape up all the browned bits.
  9. Add any accumulated pork juices from the plate, and simmer until sauce is reduced to about 1/2 cup.
  10. Slice the pork on the diagonal and served drizzled with the sauce.
I'm serving with green salad and cauliflower mashed potatoes- the hubby's not going to be a fan- which may be a repeat if you follow religiously, but I have yet to make them since I've started bloggin' my recipe adventures. 


Tuesday
Tilapia from Everyday with Rachael Ray- Does that make it Tilapia Tuesday? OK, OK, really corny. I don't usually do fish, what are we rich? No, I just am not real sure how to cook it and it is a little expensive to "play" with. But it was a meal deal this week at HEB so I got it. - Totally off topic, did you get your free Ken's 90z Salad Dressing from HEB this week. it was 5/$5 and there was a $1.00 off coupon in the 1/8 SS.


INGREDIENTS
¾ cup freshly grated Parmesan cheese
2 teaspoons paprika
1 tablespoon chopped flat-leaf parsley
4 tilapia fillets (about 1 pound total)
1 lemon, cut into wedges

Directions:
Preheat the oven to 400°. In a shallow dish, combine the cheese with the paprika and parsley and season with salt and pepper. Drizzle the fish with olive oil and dredge in the cheese mixture. Place on a foil-lined baking sheet and bake until the fish is opaque in the thickest part, 10 to 12 minutes. Serve the fish with the lemon wedges.


With pamesan roasted green beans and salad


Wednesday
Creamy Chicken - this is a lot like Alfredo. I love this recipe and not too sure where I originally got it. Its been a while. We change up the veggies all the time. If you want to be really bad, try it on pasta!
Ingredients


3-4 boneless chicken breasts-cut up into bite sized pieces
2 tbsp olive oil
1 green pepper
1 red pepper
3 cups broccoli florets (fresh or frozen)
1 can low sodium chicken broth
1 8oz. bar of fat free cream cheese
1 packet hidden valley ranch powder dip mix
* I've used peas and carrots (frozen), mushrooms, mushrooms and peas, 4 bell peppers (each color,) broccoli - any combo really is good
Steps:
In a skillet:
Saute the chicken in olive oil until almost cooked through
Add all veggies to saute with chicken
Add 1/2 the can of chicken broth to saute
In a seperate sauce pot add:
Last 1/2 of chicken broth
8oz fat free cream cheese
1 packet hidden valley ranch dip mix
Cook until mixture is smooth.
Add sauce to saute mixture and serve! - YUM!

Thursday
Green Chili Chicken and White Bean Enchiladas- this one is long but very good.
Chicken and White Bean Filling:
  • 1 tsp olive oil
  • 1/4 cup minced white onion
  • 2 cloves garlic, minced
  • 1 can (4.5 oz) chopped green chiles
  • 15.5 oz can Navy beans (or Cannellini beans)
  • 8 oz cooked shredded chicken breast
  • 1/3 can water
  • 1 chicken bullion
  • 1 tsp cumin
Green Chile Enchilada Sauce:
  • 1 tsp butter
  • 1/2 cup chopped white onion
  • 2 tbsp flour
  • 1 cup fat free chicken broth
  • 7 oz can chopped green chile
  • 2 jalapeƱos, chopped (I used jarred)
  • salt
  • 1/2 cup light sour cream
  • 3/4 cup reduced fat Mexican cheese
  • 8 medium low carb tortillas
  • chopped fresh cilantro or scallions (or both!)
Preheat oven to 375°.
For the Filling:
In a medium pan, heat olive oil on low. Add onions, garlic and saute until soft, about 2-3 minutes. Add green chiles, beans, water, bullion, and cumin. Mix well and cover.Simmer on low 15 minutes. Remove cover, add chicken and cook an additional 5 minutes, or until it thickens and liquid boils down. Set aside.
Green Chile Enchilada Sauce: 
In a large nonstick pan, melt the butter over medium heat. Add onion and cook, stirring occasionally, until the onion softens and starts to turn translucent, about 3-4 minutes. Add flour and stir well. Cook for 1 minute, stirring constantly. Slowly whisk in the chicken broth. Whisk until the sauce becomes smooth. Cook over medium heat until the sauce boils and thickens, about 4-5 minutes. Add green chiles, jalepeƱos, and salt to tatse. Cook another minute then remove from the heat. Stir in the sour cream.


Spread about 1/4 cup of the enchilada sauce on the bottom of a 9x13" baking dish.Fill each tortilla with 1/3 cup of the chicken/white bean filling. Roll the tortillas and place seam side down in the prepared baking dish. Continue filling remainder of the tortillas.
Pour the enchilada sauce over the top of the enchiladas. Top with cheese. Cover with aluminum and bake 20-30 minutes, until the enchiladas are hot and the cheese is melted. Remove from oven and top with fresh cilantro or scallions.


Friday
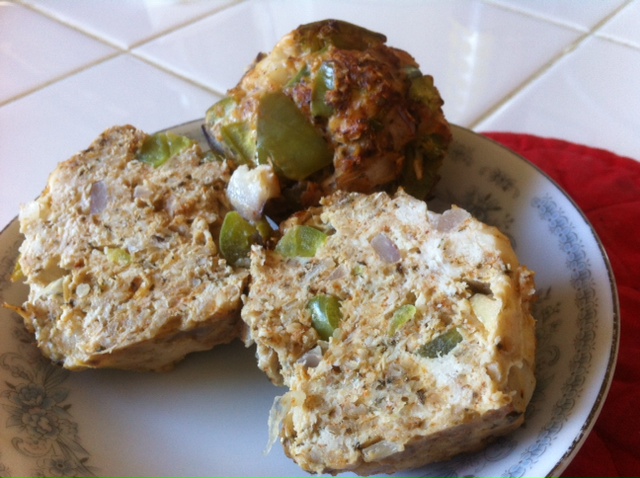
Super Healthy, Ultra Clean, Meatballs This recipe was found on pinterest and I followed it back to Blogilates. I have to say I think this is the one I am most excited about trying. Her pictures look SO GOOD! Maybe I will try to start taking pictures for you guys too.  Anyway, here you go. If you try it before Friday, let me know how it turns out. 

INGREDIENTS (makes about 20 huge meatballs):
  • 2.5 lbs ground chicken BREAST
  • 3 egg whites
  • 1 cup dried quick oats
  • 2 medium green bell peppers
  • 1 purple onion
  • 2 TBS paprika
  • 1 TBS chopped garlic
  • 1 TBS dried basil
  • 1 TBS oregano
  • 1-2TBS of fish sauce or you can add flavor with a pinch or two of salt
  • (You can basically season it however you want spice wise)
DIRECTIONS:
  • Mix all of the ingredients together in a big ole bowl
  • Spray a muffin tin (or regular pan) with PAM
  • Mush into balls
  • Cook at 375F for about 35 min
She has some great suggestions on what else to serve these with. I will just do salad and marinara sauce for dipping. 


Saturday - Game Day!
Pizza Muffins - This is one I am making up. We liked the pizza with egg crust and the sausage and onion muffins, earlier mentioned, so well we decided to take the left over ingredients and work up this concoction. You may want to wait until we actually try it, before you decide to. Unless you're brave. I am by no means a chef!

Ingredients
1 pound Italian Sausage or leftover turkey pepperoni
1 sauteed onion- chopped
Mushrooms, if you like them
9 large eggs if you add mushrooms, 8 if not
pizza sauce - we're using leftover so I am not sure how much. Enough to make sure its all covered
1/4 cup milk 
1/2 tbsp vegetable oil
1/2 tsp baking powder
shredded mozzarella 
foil cupcake liners
Directions
1. Preheat oven to 375 F.
2. In a large saute pan, over medium high heat, brown Italian Sausage or saute pepperoni with onions and mushrooms for about 5 minutes (or until the sausage is no longer pink.) Then add pizza sauce
3. Whisk together eggs, milk, oil and baking powder.  
4. Line each cupcake slot with a foil liner. Spoon out the meat and veggie mixture evenly into each cupcake.
5. Ladle the egg mixture over meat and veggie mixture. 
6. Sprinkle mozzarella on top.
7. Bake for 15-20 minutes.


Serve with salad (or you could do buffalo chicken)


Sunday you guys are on  your own, unless I do my shopping Saturday and come up with a meal plan. 
I am thinking of deeming this Menu Monday here on the blog. What do you think?


Stay tuned, lots of big projects in the works for the house this weekend. If we're lucky we'll also be adopting a sweet new dog. Lots of posts to talk about! 
Happy Cooking!